It should be easy to get a perfect manicure at home. See how easily you apply our Layers in five simple steps.
Step 1: Nail preparation
It is important to commence application by washing your hands thoroughly to remove any dirt or residue from both your nails and hands. This is to ensure optimal application and residue-free handling of the product. Soften and remove cuticles from the nail bed. Cut, file and buff nails as desired. Why is this important? Layering product over cuticles can create airflow under the product and lift and/or loosen the adhesion over time. Clean and dry hands and nails thoroughly to avoid moisture remaining underneath the nail bed. Why is this important? Your Layers adhere better to a clean (residue-free), dry and smooth nail bed. The end result will be a smoother, and your Layers will stay optimal for longer.
Step 2: Open packaging
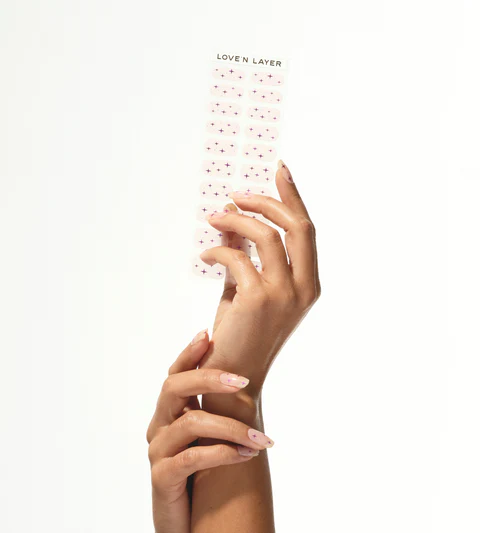
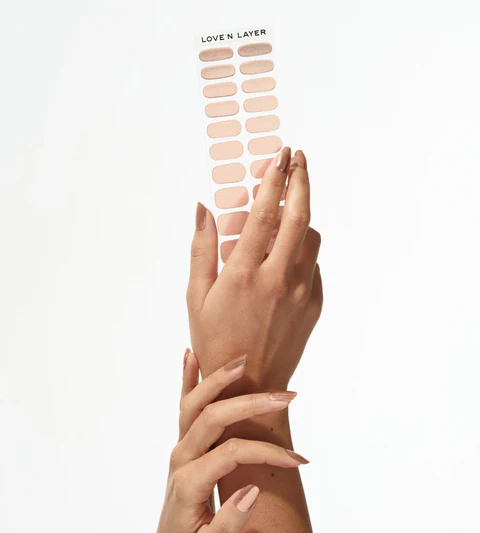
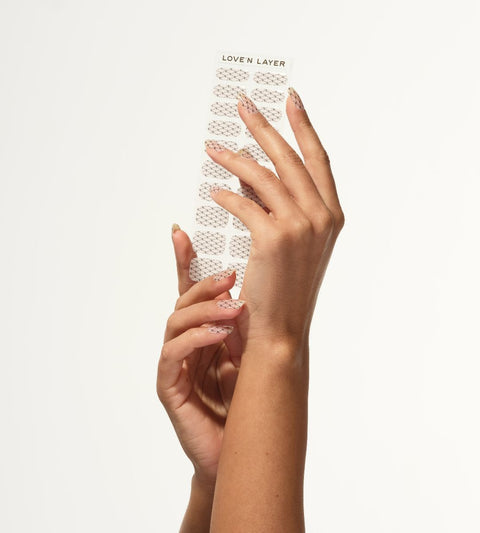
When you open the outer box, our Layers will be sealed within a foil cover. Cut it open gently along the top seal and remove the Layer map. Remember to save the foil protection cover and put back your remaining Layers back inside. Once opened, Layers last up to 6 months if they are protected in the foil cover and kept away from heat or direct sunlight. Do not leave our Layers in warmth or direct sunlight and outside of the foil cover otherwise they can harden and become difficult to apply, or be destroyed completely. NOTE: do not apply Layers in direct sunlight and/or heated environment!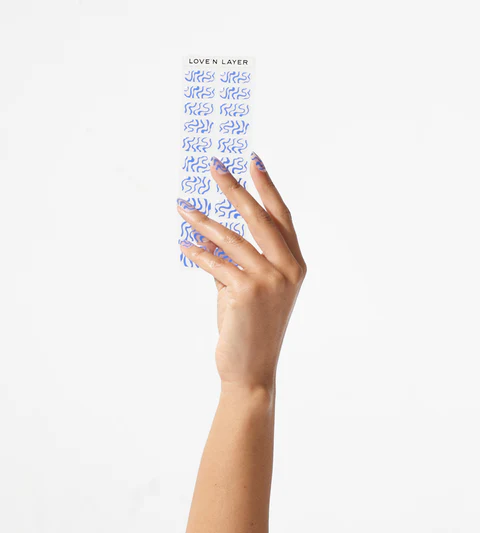
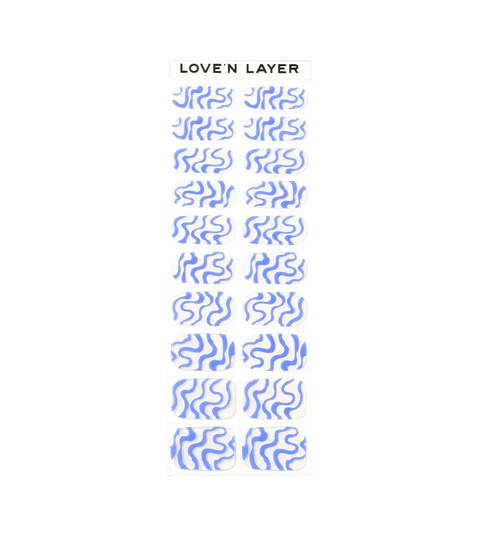
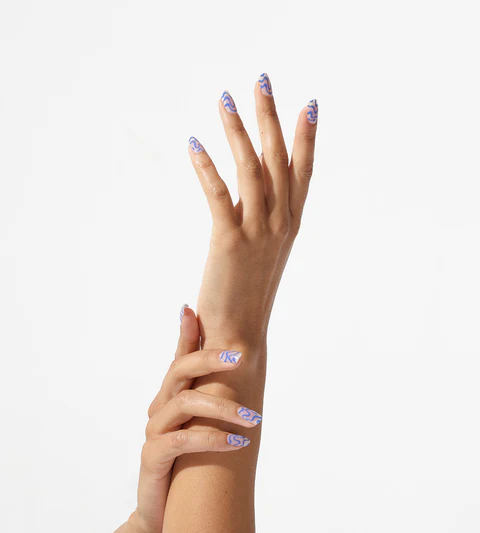
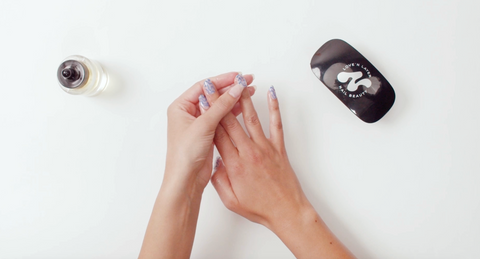
Do you like our Layer in the video? We use Sweet Swirl London Blue
249 kr
Step 3: Place Layers
Start by measuring the sheet to match for size against each varying sizes of nail. To attach the Layer to the nail place it on the nail bed, attaching the layer on one side of the nail closest to the cuticle and press out across the nail. Continue to press towards the tip. For best results - place the Layer carefully on your nail so that it is applied to the nail bed itself and not the skin, and that its edges are close to, but not on, your cuticle. Note Layers are stretchy and malleable and can be stretched for optimal coverage to fit perfectly across the nail. If between sizes, err on the smaller side and stretch to fit across the nail.Step 4: Adjust length
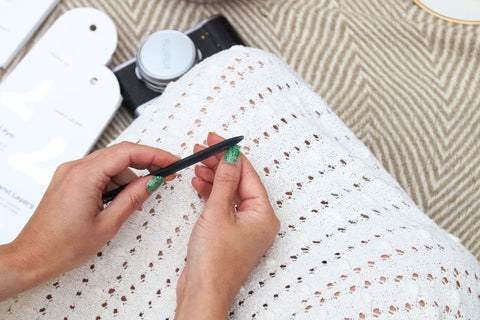
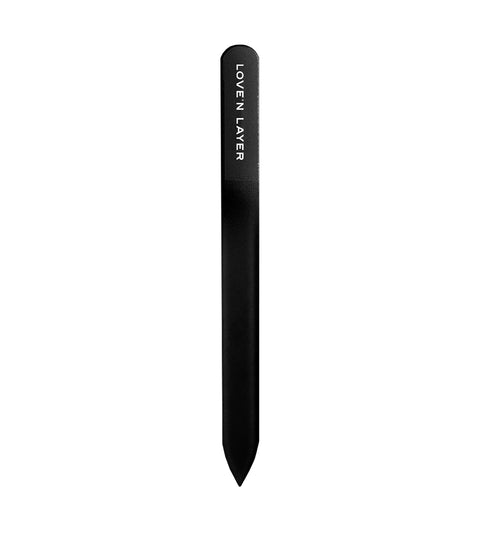
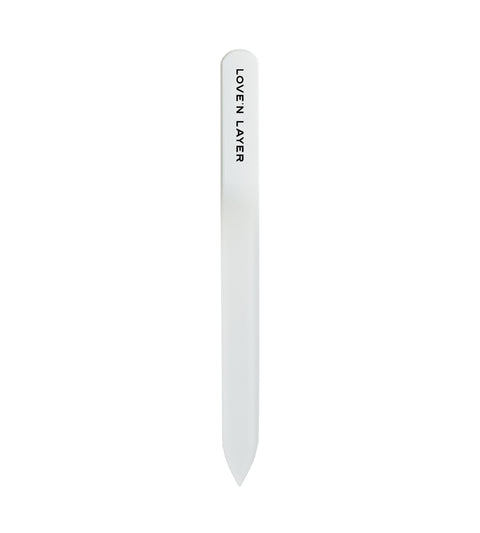
Pull the excess Layer over the tip of your finger. It is a bit like pulling a sheet over the side of a mattress! Use a nail/fingertip or the tip of the nail file to firmly press the Layer around the front edge of the nail. Detach the excess Layer by either pressing under the nail or filing it. You can then tear it off the finger by pinching it off.Find your nail file
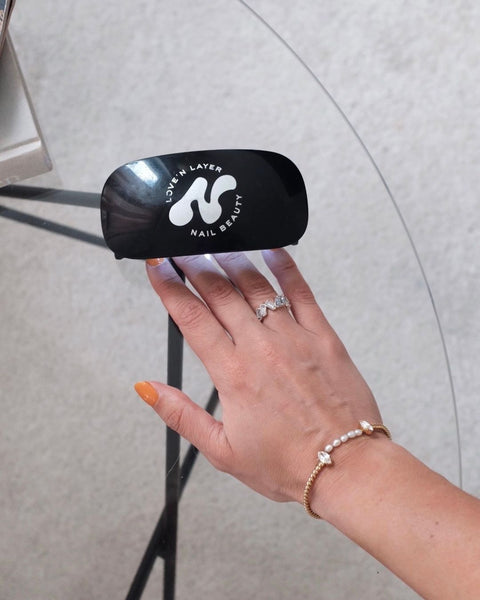
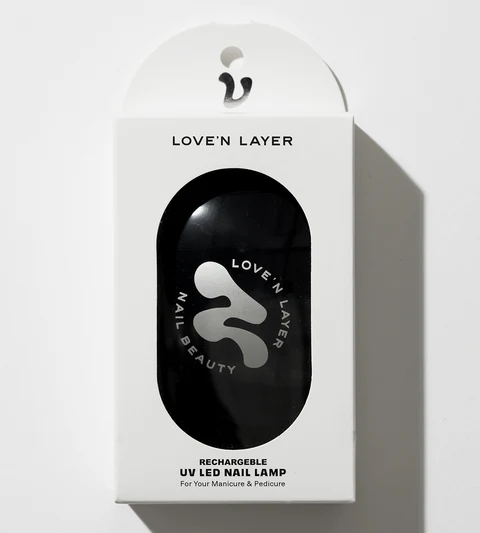
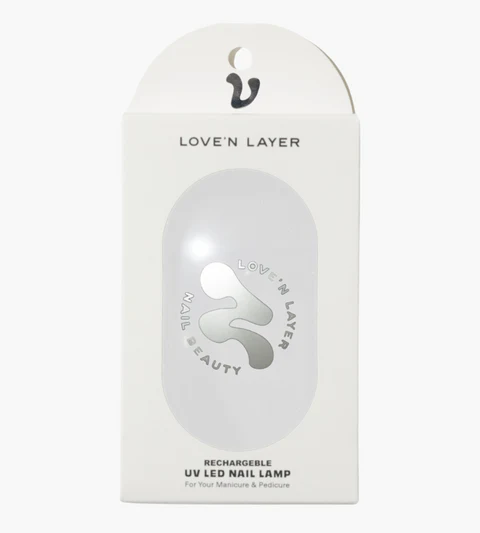
Step 5: Fix with UV LED lamp
It is fine to use Layers without UV setting. However, for best durability, the UV LED lamp is recommended. The lamp causes the Layer to harden, increasing both the protectiveness and durability of the manicure. It also gives the nails a beautiful shine/gloss. Place your nails under the UV LED Lamp, one hand at a time. Press the top of the lamp to activate the light and the timer will start to count down until the light goes out and you can remove your hands. Done!
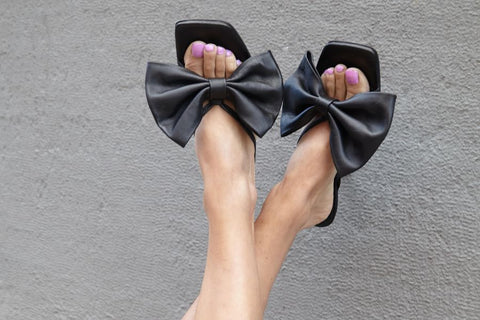
YOU NAILED IT!
Your manicure is too beautiful not to share with the world! Take a picture of your newly fixed nails and post it on your social media. Don't forget to tag @lovenlayer and #lovenlayer
Find your UV LED lamp